Exploring the World of Studio monitors: Thorough beginners guide 2023
Chasebeatz
7/18/2023
Introduction


Studio monitors are an essential component of any music production setup.
These specialized speakers offer accurate and transparent audio reproduction, allowing producers, engineers, and musicians to make critical decisions during the mixing and mastering process.
In this thorough music production guide , we will delve into the world of studio monitors, exploring how to choose the right monitor for your needs, the differences between active and passive monitors, and the best options available for beginners and professionals.
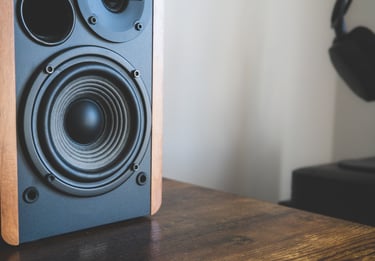

Studio monitors play a critical role in music production because they allow professionals to hear the nuances and details of their audio recordings.
By providing accurate sound reproduction, studio monitors enable producers and engineers to make informed decisions regarding the arrangement, mixing, and mastering of their tracks.
This level of precision is crucial for achieving a balanced mix that translates well across different playback systems.
What are Studio Monitors?
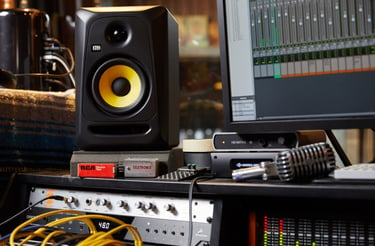
Studio monitors, also known as reference monitors or studio speakers, are speakers specifically designed for audio professionals to accurately reproduce sound in recording studios.
Unlike consumer speakers, which often enhance or alter the audio to make it more pleasing to the ear, studio monitors aim to provide a faithful representation of the recorded material.
They are designed to have a flat frequency response, ensuring that the audio playback is balanced and uncolored.
Why are Studio Monitors Important in Music Production?

Key Features to Consider in Studio Monitors
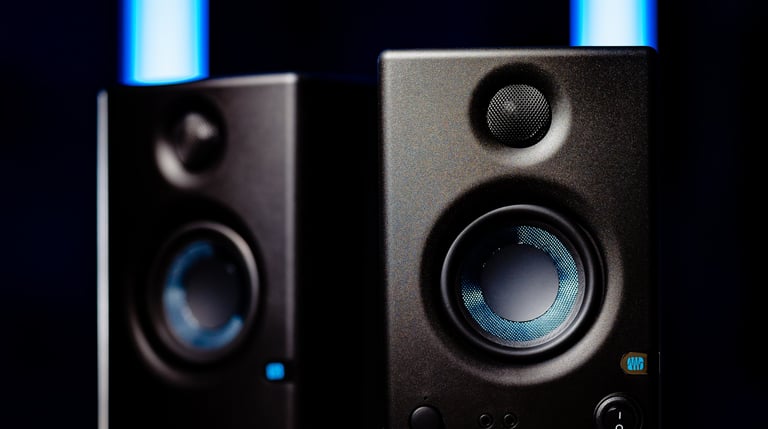
As a beginner, it's important to consider certain key features when choosing studio monitors. Here are the key features beginners should look for:
Price and Budget: Determine your budget range and look for studio monitors within that range. There are affordable options available that still provide decent sound quality for beginners.
Size and Placement: Consider the size of your studio space and the available desk or shelf space for placing the monitors. Compact-sized monitors, such as 5-inch or 6-inch models, are often suitable for smaller studios or home setups.
Frequency Response: Look for studio monitors with a wide and flat frequency response. This ensures that all frequencies are reproduced accurately, allowing you to hear the full range of your music without any significant frequency bias.
Power Output: Ensure that the power output of the monitors is sufficient for your studio environment. Higher wattage monitors can handle higher sound levels without distortion, but be mindful of your specific needs and the size of your room.
Connectivity Options: Check for the availability of balanced XLR or TRS inputs, as they provide better audio quality and minimize interference. Some monitors also offer additional connectivity options like RCA or Bluetooth, which can be convenient for certain setups.
Ease of Use: Look for monitors that offer user-friendly controls for volume adjustment, input selection, and other essential settings. It's important to have easy access to these controls for quick adjustments during your music production process.
Build Quality and Durability: Consider the build quality and durability of the monitors. Look for monitors that are well-constructed and designed to withstand regular use. This ensures longevity and reliability for your investment.
Reviews and Recommendations: Research and read reviews from reputable sources or seek recommendations from experienced professionals or fellow musicians. These insights can help you make an informed decision based on real-world experiences.
Remember, as a beginner, it's normal to start with entry-level studio monitors that cater to your needs and budget. As you gain experience and develop your skills, you can consider upgrading to more advanced models that offer additional features and enhanced performance.
How Studio Monitors Differ from Consumer Speakers
While consumer speakers prioritize audio enhancement and subjective listening experiences, studio monitors prioritize accuracy and transparency.
Consumer speakers often emphasize bass or treble, whereas studio monitors strive for a more neutral and uncolored sound.
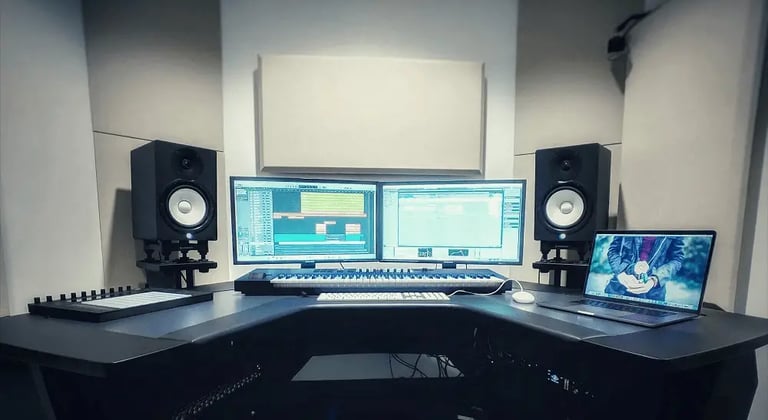
Additionally, studio monitors are designed for nearfield listening, meaning they are intended to be placed relatively close to the listener, allowing for more detailed monitoring of audio content.
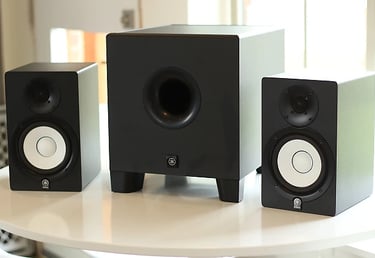

Step 1: Define Your Needs and Budget Assess your specific requirements and the purpose of the studio monitors. Determine your budget range to narrow down your options.
Consider factors such as the size of your studio space, the type of music you produce, and your level of experience.
Step 2: Decide Between Active and Passive Monitors Understand the differences between active and passive studio monitors, as explained earlier in the guide.
Consider the pros and cons of each type and decide which one aligns better with your needs, budget, and preferences.
Step 3: Research and Compare Models Conduct thorough research on various studio monitor models within your budget range. Look for reputable brands known for their quality and reliability.
Compare the specifications, features, and user reviews of different models to understand their performance and suitability for your requirements.
Step 4: Consider Frequency Response and Accuracy Pay attention to the frequency response of the studio monitors. Look for models that offer a wide and flat frequency response, ideally covering the entire audible spectrum (20Hz to 20kHz).
A flat frequency response ensures accurate and balanced audio reproduction.
Step 5: Assess Power Output and Room Size Consider the power output of the monitors and ensure it matches your studio's needs. Larger studio spaces may require monitors with higher power output to fill the room adequately.
Conversely, smaller spaces may not require as much power. Take into account the room size and acoustics to determine the appropriate power level.
Step 6: Listen and Evaluate Whenever possible, listen to the studio monitors in person before making a purchase. Visit a music store or attend industry events where you can audition different models.
Pay attention to the clarity, detail, and overall sound quality. Trust your ears and choose the monitors that sound the best to you.
Step 7: Consider Room Acoustics and Placement Assess the acoustic characteristics of your studio space and consider how the monitors will be placed.
Take into account factors like room reflections, speaker positioning, and the listening position. If your room has acoustic challenges, you may need to invest in additional room treatment or consider monitors with built-in room correction features.
Step 8: Seek Recommendations and Reviews Read reviews and seek recommendations from experienced professionals, audio engineers, or fellow musicians.
Their insights and firsthand experiences can provide valuable information and help you make an informed decision. Join online forums or communities to ask for advice and gather different perspectives.
Step 9: Factor in Future Upgrades Consider your future plans and growth as a music producer.
If you anticipate upgrading your studio setup or expanding your production capabilities, choose monitors that offer flexibility and can integrate well with future additions or changes to your setup.
Step 10: Make an Informed Decision Based on your research, listening evaluations, budget, and specific requirements, make a final decision.
Choose the studio monitors that best align with your needs, preferences, and budget while delivering accurate and transparent sound reproduction.
Remember, selecting the right studio monitors is a subjective process, and what works for one person may not work for another. Trust your judgment, prioritize accuracy and transparency in sound reproduction, and consider the factors mentioned above to make the best decision for your music production journey.
Frequency Response and Accuracy
Frequency response refers to the range of frequencies a monitor can reproduce.
A flat frequency response is desirable as it ensures a balanced representation of all frequencies, allowing for accurate monitoring and sound shaping decisions during music production.
Impedance and Power Handling
Impedance is the electrical resistance of the monitor, affecting its interaction with amplifiers.
Matching the impedance of your studio monitors to the amplifier's output impedance is crucial for optimal performance.
Additionally, consider the power handling capabilities of the monitors to ensure they can handle the required sound levels in your studio environment.
Nearfield vs. Midfield Monitors
Nearfield monitors are designed for listening at close distances (typically within three to six feet), while midfield monitors are intended for listening at greater distances (around eight to ten feet).
Consider your studio size and listening position to determine which monitor type is most suitable for your needs.
Room Acoustics and Placement
The acoustic characteristics of your room significantly impact the accuracy of sound reproduction.
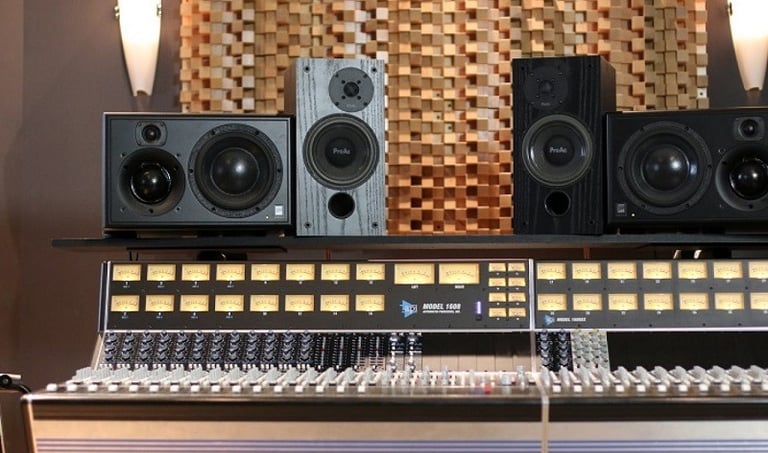
Room treatment, such as using bass traps, diffusers, and absorbers, can help minimize unwanted reflections and improve the overall monitoring experience.
Proper monitor placement, including distance from walls and angle adjustments, is essential for achieving accurate sound imaging.
Subwoofers and Low-Frequency Extension
Subwoofers are specialized speakers that handle low-frequency reproduction. Adding a subwoofer to your studio monitor setup can enhance the bass response and improve the overall balance of your mix.
However, their usage depends on the specific requirements of your music production and the size of your studio space.
Balanced and Unbalanced Connections
Balanced connections, such as XLR and TRS, are preferred for studio monitor setups as they minimize interference and provide better noise rejection.
Unbalanced connections, such as RCA, are less immune to noise but can still be used effectively for short cable runs in specific scenarios.
Calibration and Room Correction Technologies
Some studio monitors offer built-in or external calibration and room correction technologies. These tools help compensate for acoustic deficiencies in your listening environment, allowing you to achieve more accurate and reliable sound reproduction.
10 Critical Steps for beginners when Choosing the Right Studio Monitor
Technical Considerations
Comparing Studio Monitor Models
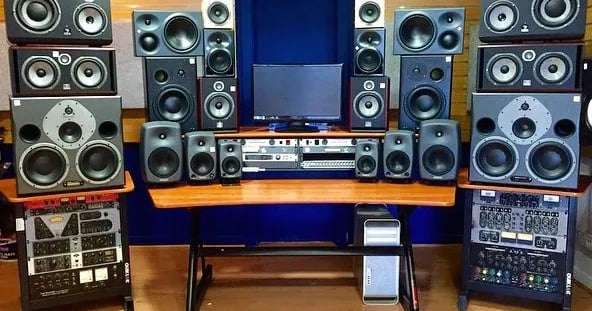

Yamaha HS Series:
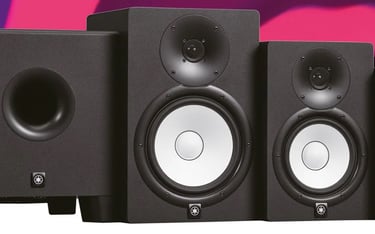
The Yamaha HS series, including models like HS5 and HS7, has gained popularity among beginners and professionals alike.
These monitors offer accurate sound reproduction with a neutral frequency response, making them suitable for mixing and mastering tasks.
The HS series features a bi-amplified design, ensuring optimal power distribution to the tweeter and woofer.
They provide clear mid-range definition and precise stereo imaging. Additionally, the HS series includes room control and high trim switches to adapt the monitors to different environments.
These in-depth reviews showcase the key features and strengths of recommended active and passive studio monitors.
However, it's essential to consider your specific requirements, studio environment, and personal preferences when making a final decision.
Listening tests and comparing different models side by side can also help you determine which monitors suit your mixing and mastering needs best.
In-depth Review of Recommended Active Studio Monitors:
Best Active Studio Monitors Under $100-$500
Within the $100 to $500 price range, there are several highly regarded active studio monitors.
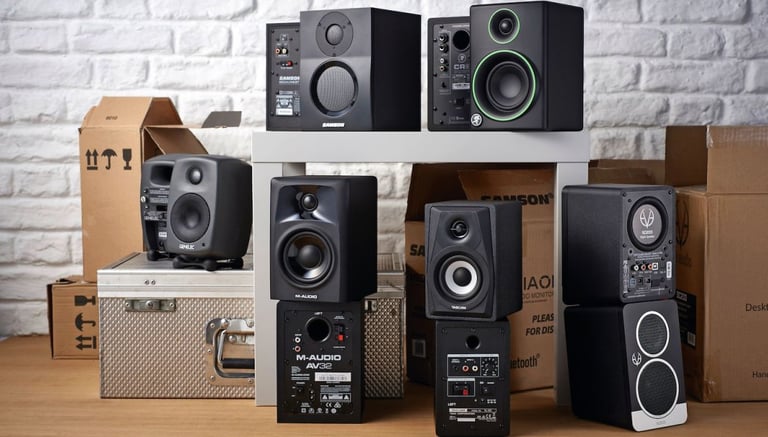
Examples include the Yamaha HS Series (such as HS5 or HS7), JBL LSR Series (LSR305 or LSR308), Presonus Eris Series (Eris E5 or Eris E8), KRK Rokit Series (Rokit 5 or Rokit 8), and Mackie MR Series (MR524 or MR824).
These models offer a balance between affordability and performance, making them suitable choices for beginners or those on a limited budget.
JBL LSR Series:
The JBL LSR series, particularly the LSR305 and LSR308 models, offers exceptional sound quality and reliable performance.
Equipped with JBL's Image Control Waveguide technology, these monitors deliver a wide and immersive sweet spot, enabling precise monitoring across various listening positions.
The LSR series boasts accurate frequency response, deep bass response, and detailed high frequencies.
With built-in room mode correction EQ and flexible connectivity options, they can be tailored to suit different studio environments.
Presonus Eris Series:
The Presonus Eris series, including models like Eris E5 and Eris E8, provides cost-effective options without compromising on sound quality.
These monitors feature Kevlar low-frequency transducers and silk dome tweeters, delivering accurate and smooth frequency response.
The Eris series offers robust amplification, low resonance enclosures, and acoustic tuning controls.
With flexible I/O options and ergonomic front-panel controls, they are user-friendly and adaptable to different setups.
KRK Rokit Series:
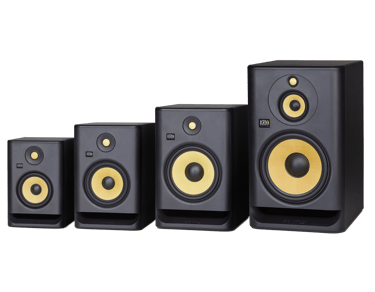
The KRK Rokit series, such as Rokit 5 and Rokit 8, has become popular among home studio owners and beginners.
These monitors offer a balanced sound with extended low-frequency response, making them suitable for genres that rely on bass-heavy content.
The Rokit series incorporates a unique waveguide design for improved imaging and a precise listening experience.
With built-in room correction EQ and multiple input options, they can be optimized for different room acoustics.
Mackie MR Series:
The Mackie MR series, including models like MR524 and MR824, provides affordability without compromising quality.
These monitors feature Mackie's logarithmic waveguide, ensuring consistent dispersion and accurate stereo imaging.
The MR series offers wide frequency response, detailed midrange, and controlled bass response.
With built-in acoustic space control and high-frequency filters, they can be fine-tuned to match your studio environment.
JBL 306P MkII:
The JBL 306P MkII is a popular choice among professionals looking for passive studio monitors.
These monitors feature JBL's patented Image Control Waveguide technology, delivering precise and detailed sound reproduction.
With a 6.5-inch low-frequency driver and 1-inch high-frequency tweeter, they offer balanced frequency response and clear stereo imaging.
The 306P MkII monitors are built with robust enclosures and provide flexible connectivity options.
Yamaha MSP3:
The Yamaha MSP3 is a compact yet powerful passive studio monitor suitable for small studio spaces.
These monitors feature a 4-inch woofer and a 0.75-inch tweeter, delivering accurate sound reproduction and clear midrange.
The MSP3 monitors are known for their exceptional transient response and precise imaging.
They are well-built, compact, and offer convenient mounting options.
KRK R6 G3:
The KRK R6 G3 is a passive studio monitor that offers detailed and balanced sound reproduction.
With a 6-inch glass aramid composite woofer and a 1-inch soft dome tweeter, they deliver accurate and extended frequency response.
The R6 G3 monitors provide solid construction, adjustable high-frequency waveguide, and multiple input options.
They are suitable for critical listening and precise mixing tasks.
Presonus Eris E66:
The Presonus Eris E66 is a dual-woofer, dual-tweeter passive studio monitor known for its detailed and transparent sound reproduction.
With two 6.5-inch woofers and dual 1.25-inch silk dome tweeters, they offer extended frequency response and precise stereo imaging.
The Eris E66 monitors feature adjustable midrange and high-frequency controls, allowing for room compensation and customization.
Mackie HR624 MK2:
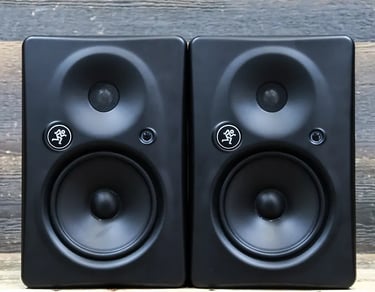
The Mackie HR624 MK2 is a high-quality passive studio monitor with a 6.7-inch low-frequency driver and a 1-inch titanium dome tweeter.
These monitors deliver accurate sound reproduction, detailed midrange, and controlled bass response.
The HR624 MK2 monitors feature Mackie's Zero Edge Baffle design, reducing diffraction and enhancing clarity.
They are built with solid enclosures and provide flexible connectivity options.
In-depth Review of Recommended Passive Studio Monitors:
Best Passive Studio Monitors Under $100-$500
For those preferring passive studio monitors within the $100 to $500 range, popular options include the JBL 306P MkII, Yamaha MSP3, KRK R6 G3, Presonus Eris E66, and Mackie HR624 MK2.
These models offer versatility and compatibility with external amplifiers, providing flexibility in tailoring the amplification stage to personal preferences.
Top Studio Monitor Choices for Professionals and Their Advantages
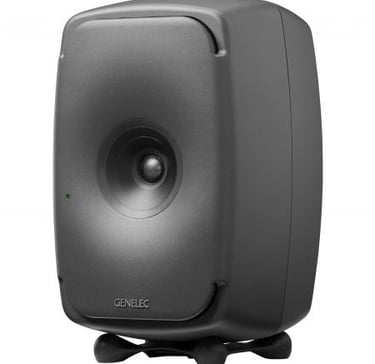



Genelec 8351B:
The Genelec 8351B is a flagship studio monitor highly regarded among professionals.
It features Genelec's unique Acoustically Concealed Woofer (ACW) technology, which reduces unwanted cabinet diffractions for enhanced clarity.
The coaxial driver design provides a precise point source imaging, resulting in an accurate and detailed soundstage.
The 8351B also incorporates Genelec's SAM (Smart Active Monitoring) technology, enabling precise room calibration and advanced control options for optimal performance in any studio environment.
Advantages: Exceptional accuracy, controlled directivity, precise imaging, advanced room calibration, and versatile control options.
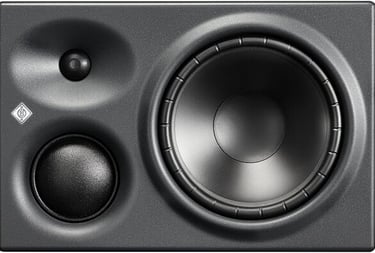
Neumann KH 310:
The Neumann KH 310 is a high-quality studio monitor known for its transparent and detailed sound reproduction.
It features a Mathematically Modeled Dispersion (MMD) waveguide and an extended frequency response, providing an accurate representation of the audio.
The KH 310 incorporates powerful amplification, precise transient response, and low-distortion drivers.
Its robust construction ensures durability, and the monitor's advanced self-calibration feature compensates for room influences, delivering consistent performance.
Advantages: Transparent sound reproduction, precise transient response, extended frequency response, advanced self-calibration, and robust construction.
Focal Trio11 Be:
The Focal Trio11 Be is a versatile studio monitor designed for both nearfield and midfield monitoring.
It features Focal's unique Beryllium inverted dome tweeter, delivering exceptional clarity and accuracy in the high frequencies.
The monitor's adjustable two-way or three-way configuration allows you to switch between a 2.1 and a full 3-way system.
With a wide frequency response and powerful amplification, the Trio11 Be offers detailed sound reproduction, precise imaging, and the flexibility to adapt to various studio environments.
Advantages: Accurate and detailed sound reproduction, versatile two-way or three-way configuration, adjustable frequency response, powerful amplification, and precise imaging.
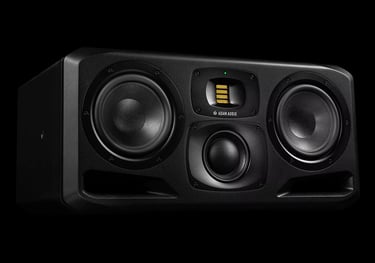

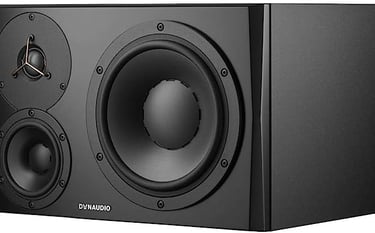

Adam Audio S3H:
The Adam Audio S3H is a flagship studio monitor known for its exceptional sound quality and precise imaging capabilities.
It features dual 7-inch woofers and a proprietary S-ART folded-ribbon tweeter, delivering extended frequency response and accurate transient response.
The monitor's advanced waveguide technology ensures precise dispersion, allowing for a wide and consistent sweet spot.
The S3H offers versatile control options, including high and low-frequency shelving filters, allowing for fine adjustments to match the acoustic characteristics of the studio.
Advantages: Exceptional sound quality, precise imaging, extended frequency response, advanced waveguide technology, versatile control options, and accurate transient response.
Dynaudio LYD 48:
The Dynaudio LYD 48 is a professional studio monitor offering precise sound reproduction and high SPL capabilities.
It features dual 8-inch woofers and a 1.1-inch soft dome tweeter, providing a balanced frequency response and accurate imaging.
The LYD 48 incorporates Dynaudio's advanced DSP technology, allowing for room compensation and fine-tuning via the monitor's rear panel controls or dedicated software.
The monitor's robust construction and high-quality components ensure durability and reliable performance.
Advantages: Precise sound reproduction, high SPL capabilities, balanced frequency response, advanced DSP technology, adjustable room compensation, and robust construction.
These top studio monitor choices for professionals offer exceptional sound quality, accurate reproduction, precise imaging, and advanced control options.
However, it's important to consider your specific needs, room acoustics, and personal preferences when selecting monitors for professional use.
Additionally, listening tests and comparing different models side by side can help you determine which monitors best suit your requirements and deliver the desired sonic accuracy and transparency.
Additional Tips and Recommendations
Studio Monitor Accessories and Essential Add-ons Explore essential accessories such as monitor stands, isolation pads, acoustic panels, and subwoofers that can enhance the performance and accuracy of your studio monitors.
These accessories help optimize speaker placement, minimize vibrations, and improve room acoustics.
Proper Care and Maintenance of Studio Monitors To ensure the longevity and optimal performance of your studio monitors, follow proper care and maintenance guidelines provided by the manufacturer.
Regularly clean the speaker cones, check connections for any issues, and protect the monitors from excessive heat, moisture, and physical damage.
The Importance of A/B Testing A/B testing involves comparing the sound of different monitors or audio processing settings to make informed decisions.
It helps identify subtle differences and allows you to choose the option that best suits your preferences and objectives.
Regularly conduct A/B tests to ensure your monitors are providing accurate and reliable sound reproduction.
Room Treatment and Acoustic Improvements Investing in room treatment, such as bass traps, diffusers, and absorbers, can significantly enhance the accuracy of your studio monitors.
Tailor the treatment to address specific acoustic issues in your room, creating an optimal listening environment.
Upgrading Your Studio Monitors: When and Why? As your skills and needs evolve, you may consider upgrading your studio monitors.
Factors such as improved accuracy, extended frequency response, and better build quality may warrant an upgrade.
Assess your current monitors' limitations and evaluate whether a more advanced model can provide tangible benefits to your music production workflow.
Conclusion:
Choosing the right studio monitor is crucial for achieving accurate and reliable audio reproduction in your music production endeavors.
By understanding the differences between active and passive monitors, considering the technical aspects, and taking into account your specific requirements and budget, you can make an informed decision.
Remember to prioritize accuracy, transparency, and a balanced representation of frequencies when selecting your studio monitors.
Whether you are a beginner or a professional, investing in high-quality studio monitors will undoubtedly enhance your music production journey.
Thank you for joining us on this journey through the world of Studio Monitors
Stay Tuned for Daily Posts about Thorough music production reviews on every Gear from our selection reccomended by many artists from beginner to proffessional level.
Please note that some of the links provided in this content may be affiliate links. This means that if you make a purchase through those links, I may earn a commission at no additional cost to you.
Chase
full-time Music Producer with over 4 years of experience using Ableton Live D.A.W. Chase will help you develop your music production abilities with tutorials, challenges, and also home studio gear reviews.


Get connected


ChaseBeatz is a budding music production business dedicated to crafting dynamic and engaging beats for emerging artists. With a focus on providing affordable and high-quality productions, ChaseBeatz helps aspiring musicians bring their creative visions to life, offering a solid foundation for their musical journey.

